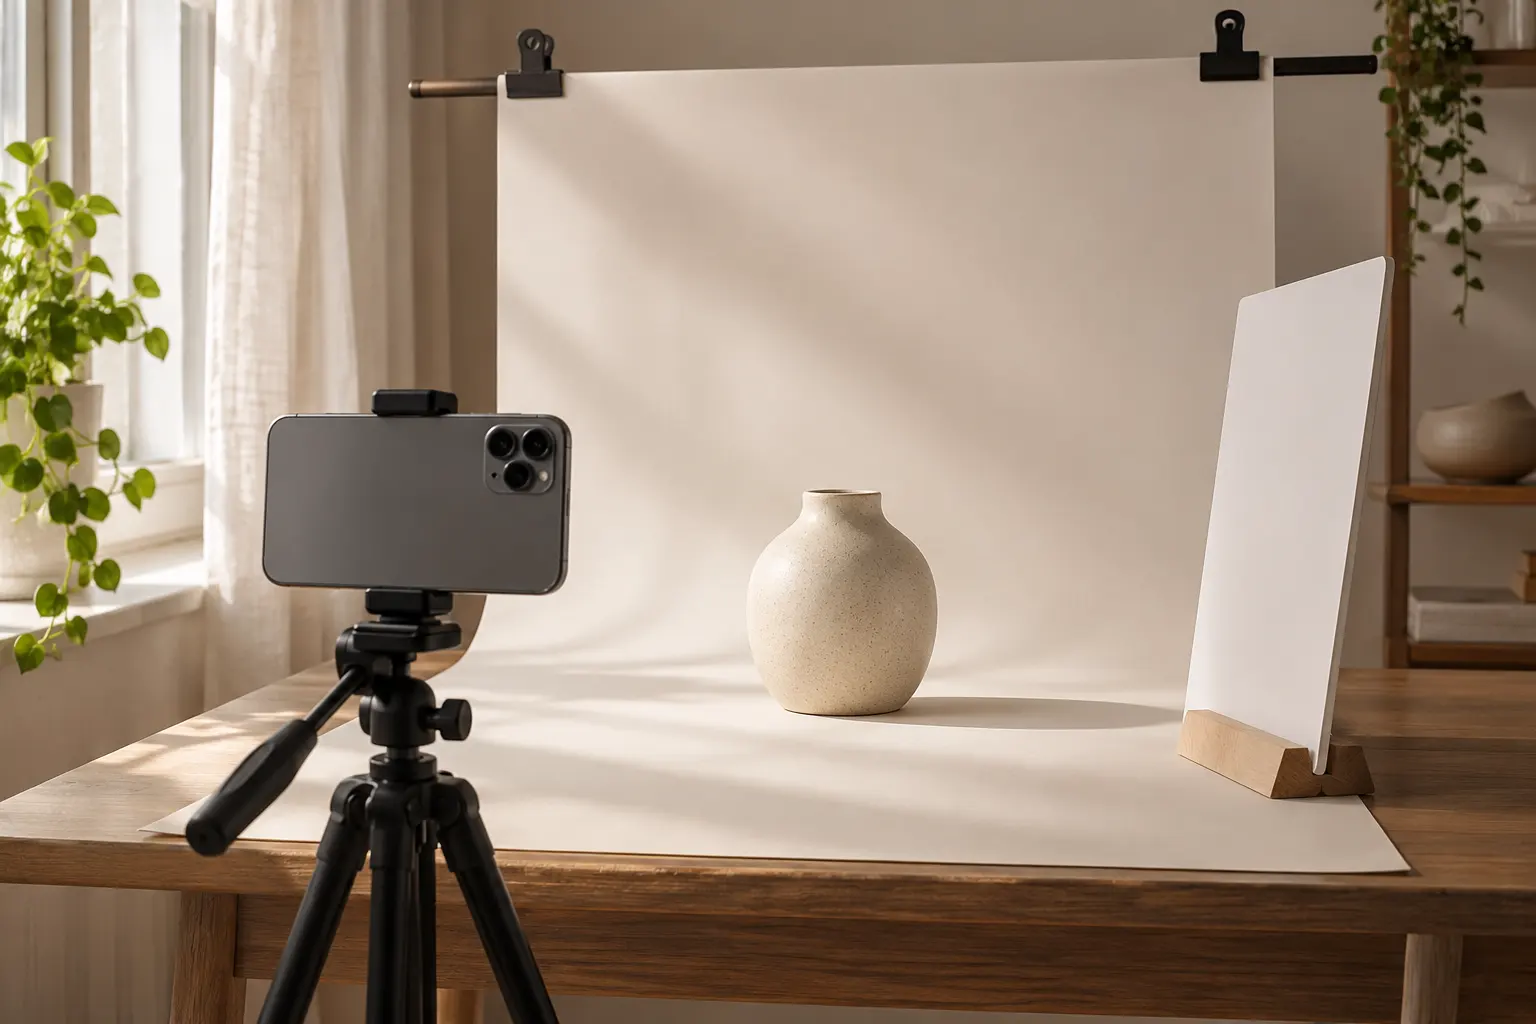
If you are selling a handmade candle, a notebook or a phone case, you do not need a full studio to produce useful photos. You need enough light, a stable camera, accurate color and a view that helps a stranger understand the product. A small repeatable setup is especially valuable when you must photograph many items.
1. Start with soft, consistent light
Place a table near a window with indirect daylight. If the sunlight is harsh, a thin white curtain can soften shadows. Switch off mixed-color indoor bulbs if they make one side of the object warm and another blue. A white card on the darker side can gently bounce light back toward the product.
2. Keep the background honest and uncluttered
A plain sheet of paper, fabric or board may be enough. Pick a neutral surface that contrasts with the item but does not change how its color appears. Remove unrelated packaging and personal information from the frame. If your selling platform specifies a background, follow that requirement instead of a general aesthetic rule.
3. Capture a useful set of angles
- Front: a clear view of the entire product.
- Side or back: show shape, attachments or ports.
- Detail: make material, stitching, texture or labels visible.
- Scale: include a familiar context or a measurement reference without being misleading.
- In use: show realistic function if relevant.
If the item has a scratch, variation or defect, represent it accurately rather than editing it away. Buyers should know what they are purchasing.
4. Use the phone you already have well
Clean the lens, tap to focus on the product, avoid digital zoom and support the phone on a stable surface. Keep exposure consistent between photos. Portrait-mode blur can accidentally erase product edges, so check the result carefully. Retouch dust in the background if appropriate, but do not change the item's color, labeling or condition.
5. Create an export workflow
After shooting, pick the sharpest images. Crop with a little space around the object, resize for your destination and export in the accepted format. The Manglo cropper supports square, portrait and landscape framing; the resizer handles dimensions. Keep the originals so you can create future marketplace-specific versions.
Photograph five products using the same window, camera height and background. Check the thumbnails together. Consistent framing makes a catalog easier to browse and usually saves editing time.
Before publishing
Zoom in once to inspect focus. Compare the exported colors with the physical product in normal light. Confirm that buyers can see the relevant dimensions and details. Then check the live listing on mobile, where many customers will first encounter it.
One small next step.
Use Manglo's free toolkit to put the ideas in this guide into practice. No sign-up required.
Crop a product photo →