A practical checklist for better product images
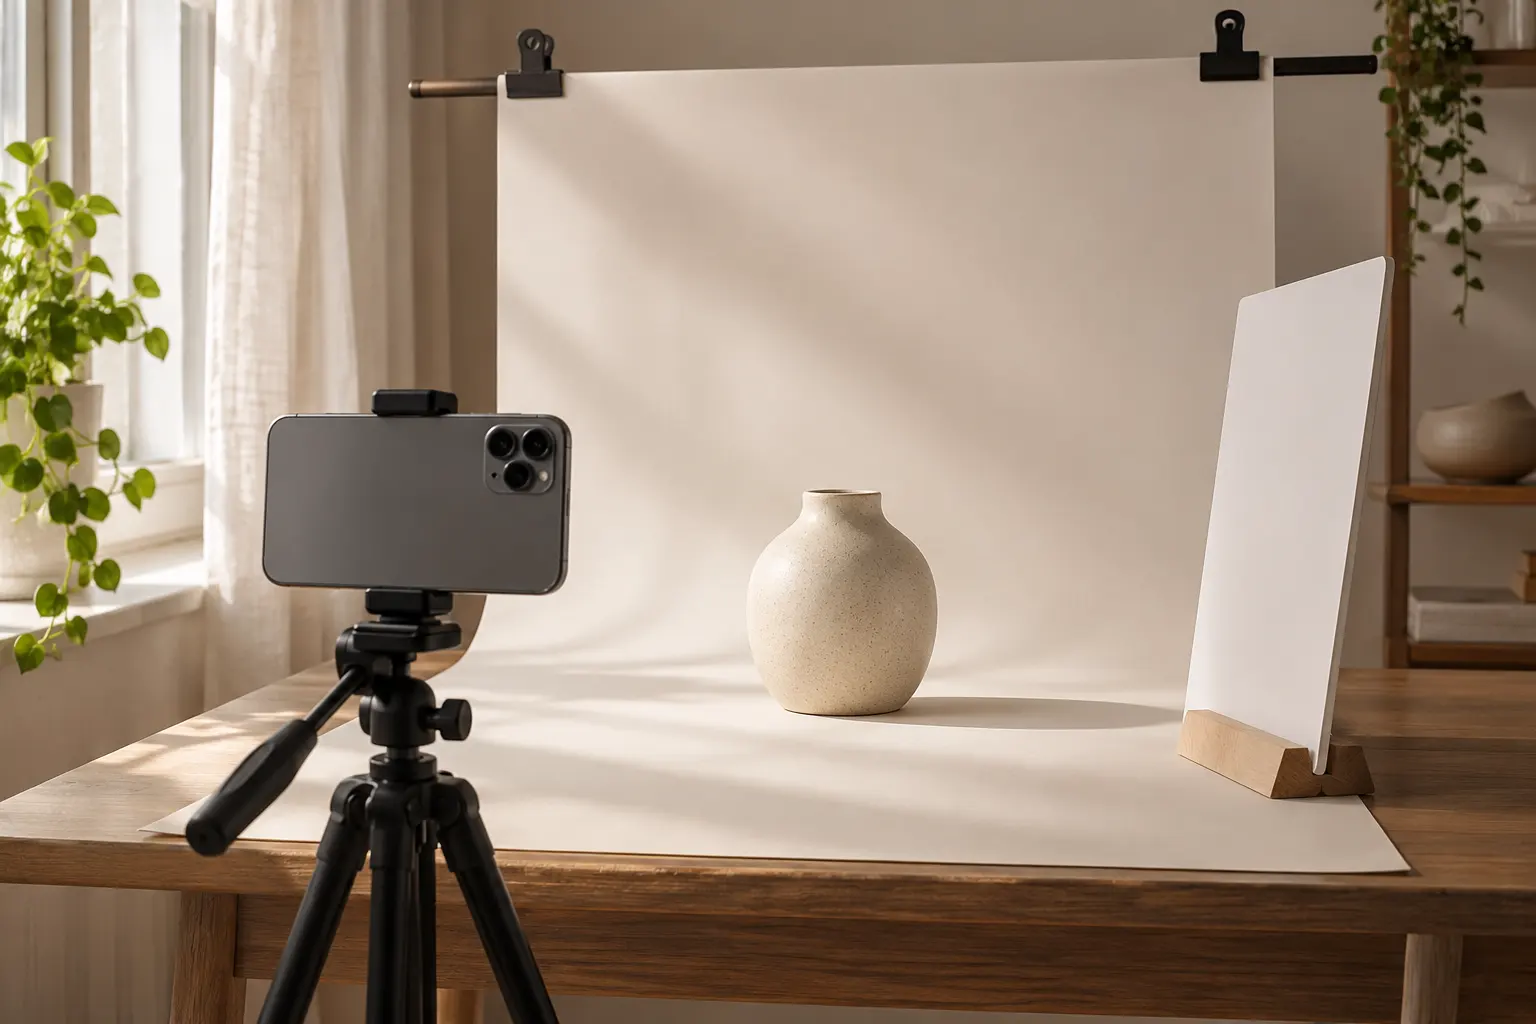
A product photo has two jobs: show the item accurately and help a buyer inspect the details. An enormous file does not automatically do either job better. Use this checklist to prepare images that are clear, consistent and easy to work with.
1. Start with an honest, sharp original
Clean the product and camera lens. Use soft daylight, a steady camera and a simple background. Photograph the actual item from several angles. Include a detail shot and a scale reference when dimensions are hard to judge. Avoid filters that change the color or hide wear.
2. Leave room around the product
A tight crop can cut off handles, straps or packaging when a marketplace shows a square thumbnail. Keep the full item comfortably inside the frame. Use consistent spacing across your catalog, and check the smallest thumbnail as well as the full-size photo.
3. Match your destination
Check the current image requirements of the platform where you sell. It may specify minimum dimensions, aspect ratio, file formats or background rules. Do not assume that a social post preset also works for a product listing.
4. Resize before aggressively compressing
If your source is 6,000 pixels wide but the destination displays a much smaller image, reducing dimensions can save more space than reducing quality alone. Avoid upscaling a small source: it creates more pixels without recovering detail.
5. Compare the exported file
Open the result at a realistic viewing size. Inspect labels, texture, seams and small lettering. If they look smeared, increase quality or retain more pixels. Keep file size low enough for the destination, but preserve details that affect a buying decision.
Before you publish
- Colors and condition are represented accurately.
- The item is fully visible in the thumbnail.
- Dimensions and file format fit the destination.
- Text and fine details remain readable.
- You have permission to use the images.